Category: Hardware

  • What Happens When You Move 1,000 Servers to cgroup v2

    What Happens When You Move 1,000 Servers to cgroup v2

    We’ve been running a large-scale Kubernetes cluster on Scientific Linux 7 for years. It works. It’s stable. Nobody complains. So naturally, we decided to migrate everything to Debian 12.

    I’m leading this migration at Automattic, and it involves moving over a thousand servers to a completely new OS stack. New kernel, new cgroup version, new assumptions about how your containers actually use resources. The goal is straightforward: modern infrastructure, better tooling, fewer surprises down the road.

    The surprises showed up immediately.

    The Problem Nobody Warns You About


    cgroups are the Linux kernel feature that controls and limits how much CPU, memory, and other resources a process can use.

    Here’s the thing about cgroup v1 (the old way): CPU limits are soft. If your container says it needs 2 CPUs but the host has 16 CPUs sitting idle, the kernel lets your container burst way past its limit. Everyone’s happy. Your monitoring looks clean. Your apps run fine.

    cgroup v2 (the new way) doesn’t do that. CPU limits are hard. You asked for 2 CPUs? You get 2 CPUs. Doesn’t matter if the host is 80% idle. The CFS quota enforcer will throttle your container the moment it tries to exceed its allocation.

    This distinction matters a lot more than it sounds like.
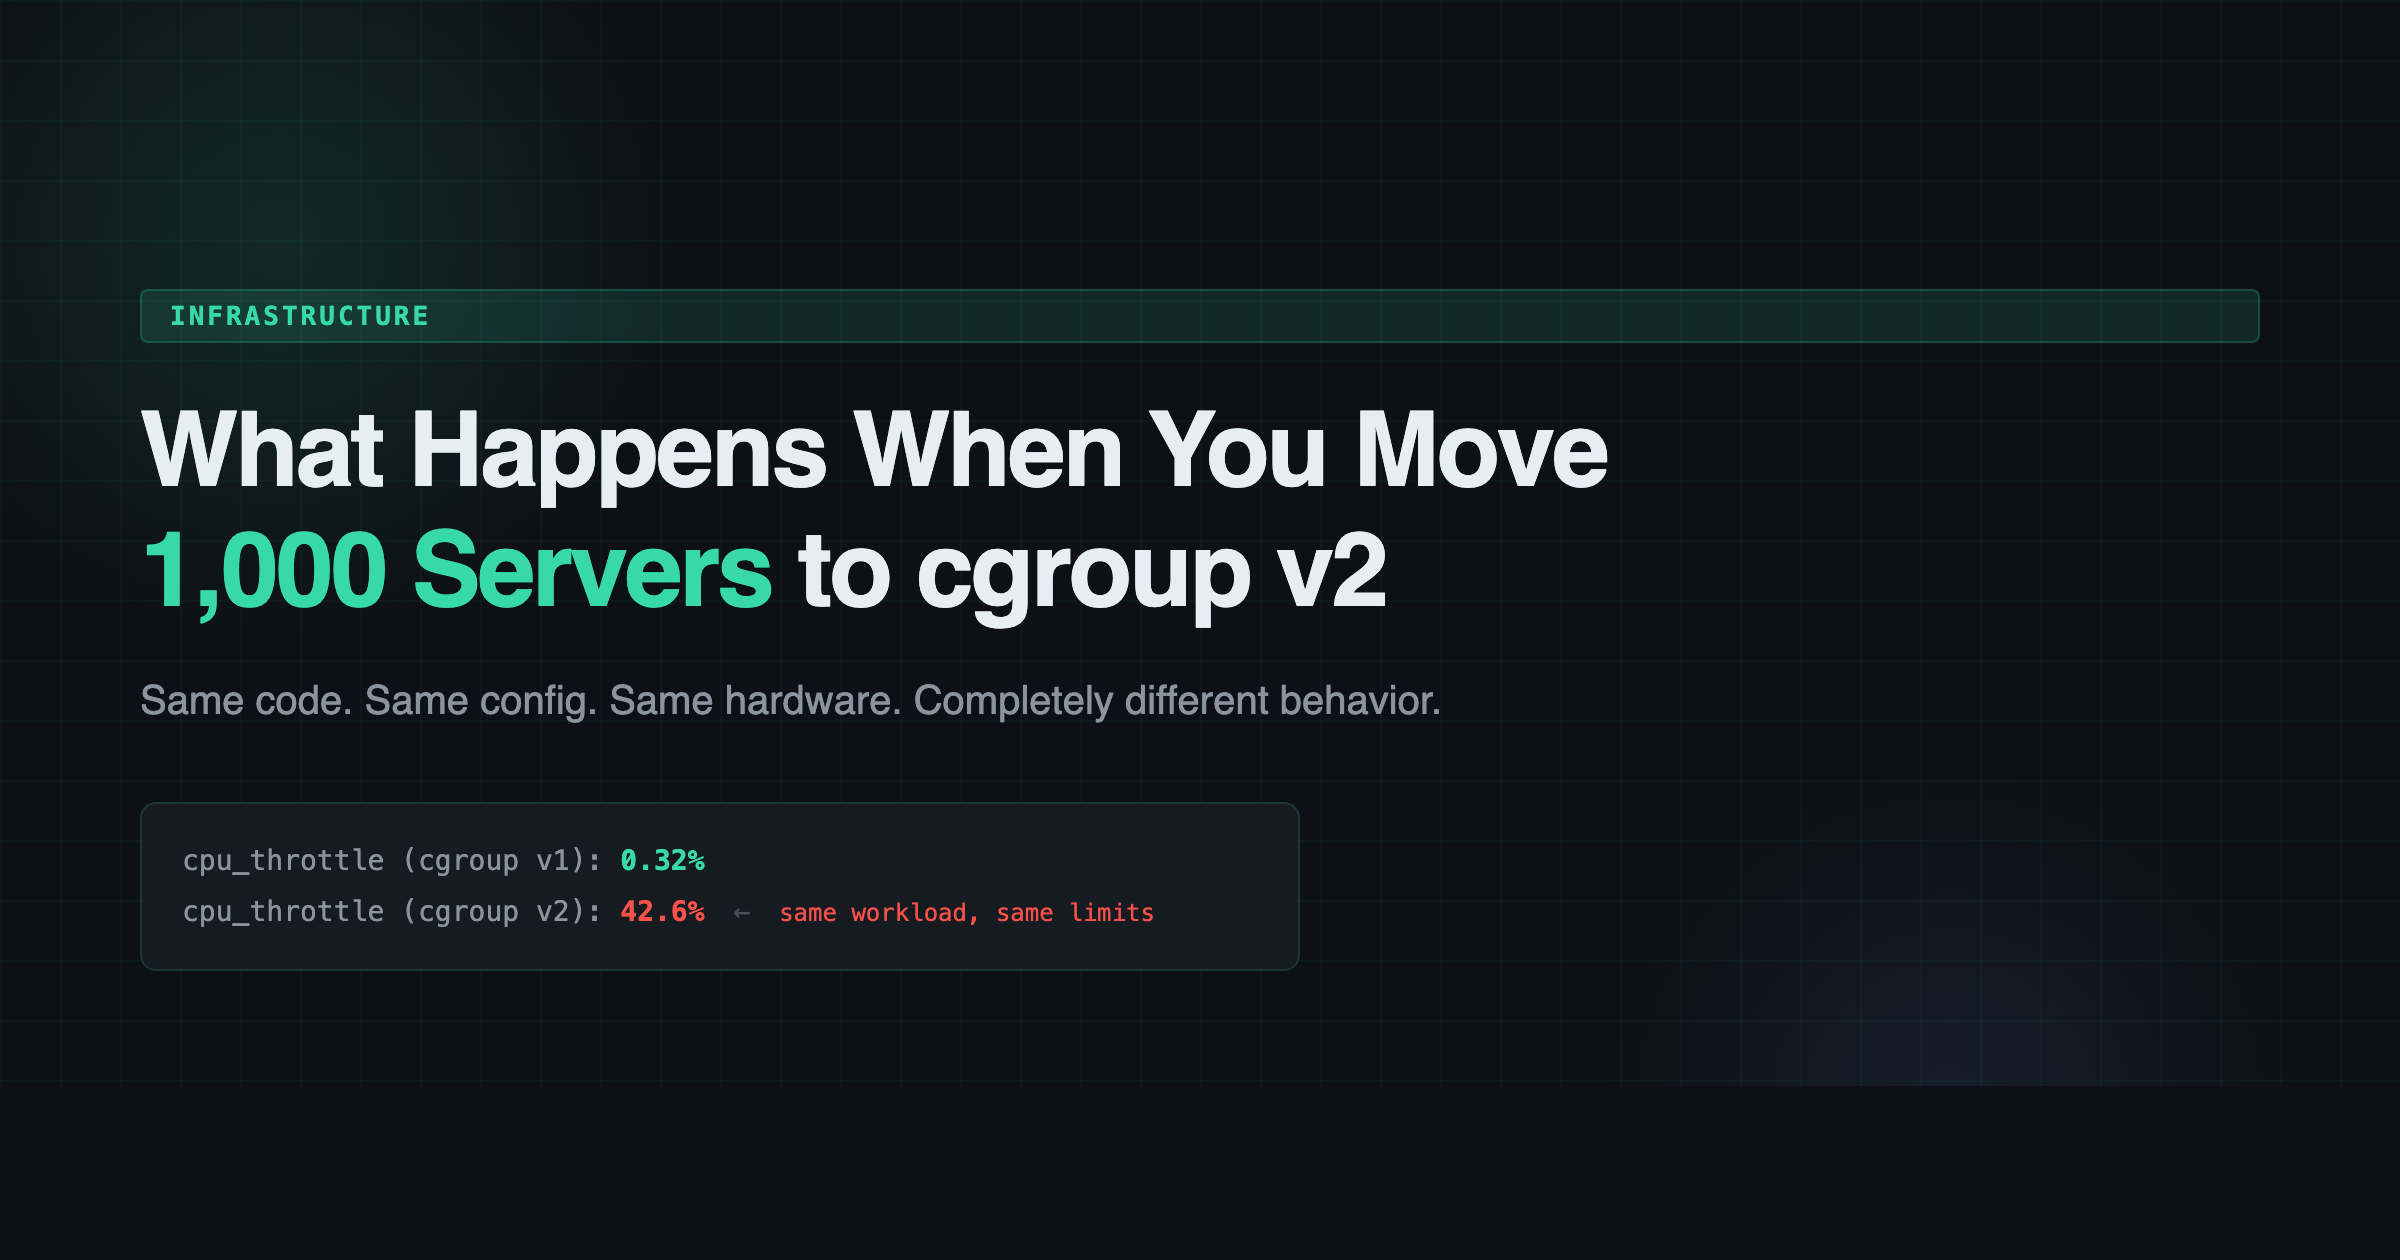
    Comparison of CPU throttle rates between cgroup v1 (Scientific Linux 7) and cgroup v2 (Debian 12), showing respective rates of 0.32% and 42.6%, along with syn drops and queue overflows.

    0.32% to 42.6%

    We had an nginx ingress controller handling external traffic for hundreds of millions of requests. The config was simple: 4 nginx workers, 2 CPU limit. On Scientific Linux 7, the throttle rate was 0.32%. Basically nothing. Health checks passed. Latency was fine. Life was good.

    On Debian 12 with cgroup v2, the same config produced a 42.6% throttle rate. The host CPU was 76.9% idle. Plenty of headroom. But the container couldn’t touch it.

    Here’s what happened in sequence:

    1. 4 nginx workers competing for 2 CPUs worth of quota
    2. Workers hit the CFS bandwidth limit and get throttled
    3. Throttled workers can’t call accept() fast enough
    4. TCP listen backlog (default 511) overflows
    5. Kernel starts dropping SYN packets
    6. Health checks time out
    7. Pod restarts

    Same code. Same config. Same hardware. Completely different behavior.

    It Wasn’t Just Nginx

    Once we started looking, the pattern was everywhere. Workloads that had been “fine” for years were suddenly gasping for air:

    • A core platform service: 99% throttled
    • A search task manager: 100% throttled in prod, 99% in dev
    • A log pruning job: 100% throttled
    • Stream processing workers: 97-100% at their memory limits
    • Various sidecars (auth proxies, metrics exporters): 95-100% memory utilization

    None of these had ever raised an alert on Scientific Linux 7. They were all quietly bursting past their stated limits, and nobody knew because nobody had a reason to look.

    The Fix

    The fix itself is boring. Bump the CPU limit to match the actual workload. For the nginx ingress, we went from 2 to 8 CPUs (2 per worker). Throttle rate dropped to 0.4%. Health checks passed. Done.

    The interesting part is the discovery process. You can’t just do a blanket “double all the limits” because some workloads genuinely don’t need more. You have to look at each one, understand what it’s actually doing, and set appropriate limits based on real usage instead of inherited guesses from three years ago.

    We ended up writing a tracker script that generates tab-separated output we could paste into a spreadsheet. For each workload: current CPU request, current limit, actual throttle rate, memory utilization. Sort by throttle rate descending. Start at the top and work your way down.

    The Lesson

    If you’re planning a migration from an older Linux distribution to something running cgroup v2 (which is basically everything modern at this point: Debian 12+, Ubuntu 22.04+, Fedora, RHEL 9), here’s what I’d tell you:

    Audit your resource limits before you migrate, not after. Every container that’s been happily bursting on cgroup v1 is going to get a rude awakening on v2. The workload hasn’t changed. The enforcement has.

    Run something like this on your current cluster:

    # Check container CPU throttle rates
    kubectl top pods --containers -A | sort -k4 -rn | head -20

    Or better yet, if you have Prometheus:

    rate(container_cpu_cfs_throttled_periods_total[5m])
    /
    rate(container_cpu_cfs_periods_total[5m])
    * 100

    Anything above 10-15% is a candidate for a limit bump. Anything above 50% is going to have a bad time on cgroup v2.

    The Bigger Picture

    This was just one of the problems we hit during the migration. There were kernel regressions that spawned 8,000+ kworkers and pegged a node at load 8,235 for 46 minutes. There were firewall rule asymmetries that broke cross-node metrics scraping. There were StatefulSet race conditions where Kubernetes would grab the wrong persistent volume if you weren’t fast enough.

    Each one of those is its own story. But the cgroup v2 throttling issue is the one I think most people will run into first, and it’s the easiest to miss because everything looks fine until it suddenly doesn’t.

    The migration is still ongoing. Over a thousand servers, hundreds of stateful workloads, and a lot of tar pipes between machines that can’t SSH to each other. I’ll write more about it as we go.

    If you’re doing something similar, I’d love to hear about it. Hit me up on Twitter/X or LinkedIn.

  • Replacing a Failed SSD in My Dell Optiplex 9020 Homelab Server

    Replacing a Failed SSD in My Dell Optiplex 9020 Homelab Server

    Hey everyone,

    So, my homelab decided to throw me a curveball this week. The SSD in my trusty Dell Optiplex 9020, one of the servers running in my half rack, decided it was time to retire. Drives fail all the time, and since I had to replace it anyway I thought I’d film it and upload to YouTube to help someone that’s never done it before. Hopefully someone finds it useful!

  • Automatic Fish Feeder

    Automatic Fish Feeder

    We’ve been “watching” my mother-in-law’s fish for the better part of two years. One of my least favorite tasks in the day is feeding the fish in the morning. There are a lot of morning tasks where putting my fingers near my mouth is a factor (brushing teeth, drinking coffee, etc.) and having to put nasty fish flakes on my hand is disruptive to those tasks.

    I decided to solve this with an Arduino and some stuff laying around the house. The project goal was to make a feeder that would feed the fish every 24 hours so I wouldn’t have to. I thought the hardest part would be the timer (spoiler alert: it was) but in actuality, engineering components that were never meant to feed fish was the really difficult and fun part.

    Inventory

    I bought and ELEGOO circuit board for the microcontroller, some random servos for the motorized mechanism, and a general electronics kit for wires and stuff. Don’t worry, those aren’t affiliate links playa… god forbid I get 20 extra cents.

    I started off by testing the board and some components. So far, so good.

    With that out of the way, I started working on getting the servo moving:

    After realizing the electronics portion of the project was coming together quite easily, I realized I had to start thinking about the physical container the food would reside in, and how I’d deliver it. I had a bottle laying around that I cut the bottom out of for the food to reside in.

    Now I had to think about how I would control the food from storage to delivery. For this, I decided to cut square of cardboard (from a JB Weld package of course) and attach it to the servo. Then, it was a quick ziptie to affix the servo-JBweld-stopper to the food storage container.

    Then I just had to get that bad boy moving:

    Working but…. I’ll kill my fish if they get that much.

    We had a working JBweld-cardboard-servo control, but it was going to need adjustment. I decided it would be a good idea at this point to start testing not only the angle to set the servo, but the frequency, friction, and amount of times to move the thing for the proper amount of food to fall.

    It was in testing that I discovered some physical bugs. Some people might have used a different material to simulate how the fish food would fall. Not me, I went and grabbed the flakes that were going to be used in a real-life simulation train like you fight was about all I learned in the Navy.

    I’m glad I did, because those stupid flakes didn’t want to come out of my bottle after the first couple of times, they’d get stuck in the larger canister but wouldn’t fall out of the mouth. Not good. I thought about some possible solutions. Solution #1 was to hot glue a pizza flyer into a cone and stick it in there:

    This was better but still not ideal. I needed something to disrupt the flakes and get them to fall. Ultimately I decided to hot glue a 3″ screw upside down against the JBweld-servo at the bottom so it would disrupt the entire food storage unit as it went back and forth.

    Bingo

    With that problem solved, I was able to tweak the code until I got the appropriate amount of food to fall on each run. Once satisfied with that, all that was really left was to put all the hardware together. Well I mean, there was that little “how will I power this thing” obstacle:

    imagine knowing this little about electricity

    Obviously that wasn’t going to work (lol) and servos require a bit more of a power draw than an LED. I remembered when I bought my house a few years ago the mortgage company gave me some small USB power banks. Perfect.

    Thanks OnQ!

    Now I could attach everything to a single contained unit! I used a plastic container that some screws came in, threw everything in there and zip tied it closed – now this is engineering!

    “it looks like an IED” -my wife

    With all that done, all that was left to do was send the device on its maiden voyage:

    my wife’s surprise at this device actually working says it all

    And that’s it! Here’s the final display:

    The profile actually doesn’t look that bad, and it’s self contained.

    Remember we talked about the timer? The timer situation isn’t ideal. I ran through some other options but for now I’m just going to run a delay() method for 24 hours. It’ll be off more and more every day because the processor can’t keep time like that, but I’m hoping it will run a week or so before it’s off by more than an hour. The other concern here is I have no idea what the total potential energy of the OnQ financial swag charger is or how long it will power the device for….. I guess we’ll figure it out.

    If you have any ideas or experience with this sort of thing, I’d be interested in hearing about what a more efficient way to power and run the timer might be. Ideally it would wake the device up every 24 hours, run the program, then sleep for another 24 hours.

    Anyway, here’s the code:

    #include <Servo.h>             //Servo library
     
    Servo fish_opener;        //initialize a servo object for the connected servo  
                    
    int angle = 0;
    int times_to_run = 2;
    int start;
    
    void setup() 
    { 
      fish_opener.attach(9);      // attach the signal pin of servo to pin9 of arduino
    
    } 
    
    void loop() 
    { 
    
      while(start <= times_to_run)
       {
        
        for(angle = 0; angle <= 45; angle += 6)    // command to move from 0 degrees to 45 degrees / increment of 6
        {                                  
          fish_opener.write(angle);                 //command to rotate the servo to the specified angle
          delay(10);                       
        } 
       
        delay(500);
        
        for(angle = 45; angle >=1; angle-=6)     // command to move from 45 degrees to 0 degrees / increment of 6
        {                                
          fish_opener.write(angle);              //command to rotate the servo to the specified angle
          delay(10);                       
        } 
      
          delay(500);
          start += 1;
       }
    
      start = 0; //reset while loop variable
      
      delay(86400000); //24 hours
      
    }

    All in all it was a fun project. I really enjoy the hardware side of things and hadn’t put something together a little more than two years ago with my crypto miner.

    Cheeky Bonus

    When I decided I was going to make this into a blog post I airdropped all of my photos and videos from my iPhone to my MacBook pro.

    fffffuuuuuuuuuuuuuuuu

    HEIC isn’t a friendly web format and there was no way I was going to open up each file in preview and export them. A little known trick with these newer formats like HEIC and WEBP is you can simply rename the file extension to convert. However, there was also no way I was going to manually click each file and rename the extension so I used this handy 8 line Python script:

     import os,sys
     folder = '/Users/RFaile/Desktop/fishfeeder'
     for filename in os.listdir(folder):
            infilename = os.path.join(folder,filename)
            if not os.path.isfile(infilename): continue
            oldbase = os.path.splitext(filename)
            newname = infilename.replace('.HEIC', '.jpg')
            output = os.rename(infilename, newname)

    Which fixed it right up in less than a second:

    Programmers are so lazy.

  • Out with the old, in with the new.

    Out with the old, in with the new.

    I’ve been at Automattic about two years now, and it’s been long past due for me to upgrade my company-issued MacBook Pro. When I first started at Automattic, I opted for the 13″ fully upgraded model. I didn’t want a big and bulky 15″ and I definitely didn’t want the touch bar. I really like tactile keys and the difference in power wasn’t going to be that significant. Plus, it was less bulky.

    My 13″ MBP ended up serving me well in my first two years. Here is a top-shot in all its glory in the machine’s last day of service:

    rudy faile's 13" macbook pro
    Farewell, good buddy 👋

    I was due for a replacement in the middle of this year (2019) but decided to wait because there were rumors of Apple releasing a 16″ model which had numerous improvements over the existing 15″ models. For starters, it was bringing back the ESC key (less touch bar = good!) While I wish they would offer a tactile key option, this was better than nothing. Furthermore, they brought back the scissor keyboard! This one actually feels less mushy than the older ones feel, especially after you’ve gotten used to the butterfly mechanism of the 2016-2018 models, but it’s a short adjustment period. Lastly, I found that while I enjoyed the portability and power-in-a-small-package of my 13″ little beast, I was ultimately less productive due to lack of screen real estate.

    All of these factors led me to wait for the possible release of the 16″ MacBook Pro. My patience, it seems, paid off as Apple announced the 16″ model on November 15th. I made my order that day and it arrived to my door about a week later.

    I couldn’t find a case at first since it was so new. Even though the chassis was supposedly the same size, I had read multiple reports that cases from the 15″ would not fit on the 16″. Eventually, to my satisfaction, I ended up stumbling across this heavy duty case from i-Blason which is perfect for me because I have a tendency to drop expensive things.

    I still have room for a couple more stickers😄

    The specs are:

    • Operating System: MacOS Catalina
    • Processor: 2.4 GHz 8-Core Intel Core i9
    • Memory: 32GB 2667 Mhz DDR4
    • Graphics: AMD Radeon Pro 5500M
    • Storage: 1TB SSD

    All in all, this thing is a beast and I’m really happy to have it. If I dislike two things about it, it’s the bulkiness of it and the touch bar. God, I hate the touch bar. I’ve hacked it a little to remove anything useful unless I touch the function key. Otherwise, I’m constantly hitting it by mistake starting up programs or changing the display brightness or some other arbitrary change within the software I’m running I had no intention of making. It makes me really happy that I opted for the last MacBook Pro without a touch bar the last go around.

    Other than that, this thing has breezed through everything I’ve thrown at it. An 8 core i9 with turbo boost up to 5Ghz is just nuts. I can’t even get the fans to spin in the performance of daily tasks. I have to really try. I stand firmly behind the statement that Apple makes the best Laptops, Tablets, and Phones at the time of this post. I still think Microsoft has them beat in desktop computing.

    Lastly, and perhaps most important: migration assistant is a dream. If you haven’t used it, it basically takes your entire operating system and puts it on your new computer. It’s almost unreal how good it is. Turn on your computer, see how you have files laid out, configurations made just so and everything just the way you want it? Migration assistant puts that into a new machine for you. It’s very altered carbon-esque in the way it makes you feel like your hardware is just a shell for the operating system and the accompanying files, folders, and software – which is eternal. Seriously, if there’s one thing I would do if I worked at Microsoft is figure out a way to make a migration-like tool that’s even half as good as migration assistant is. Your software comes over with the same configuration, your files come over, the terminal is set up on the same git branch I left off on, I didn’t even have to log back into my Gmail because my browser and cookies came over. That’s how good it is.

  • I built a crypto miner. You can too!

    I built a crypto miner. You can too!

    Table of Contents

    Background
    Purchase
    Initial Problems
    Success!
    Setting up your miner
    Conclusion
    Update


    Skip Background and get to installation

    Background

    Working through my master’s degree in technology, I began to notice a common theme. We pored over endless lit reviews which included futurists such as Ray Kurzweil and other like-minded fellows who spoke of an incredible concept just on the horizon of the Second Machine Age. This concept? De-Centralization.

    It didn’t really hit home until we began to see some data. Do you know which organization controls the most available hotel rooms at any given time in the world? It isn’t Marriot, it’s AirBnB. Any idea how many hotels AirBnB owns? I’ll give you a hint: you can’t divide by it mathematically. Let’s look at transportation: who do you think is providing the most passenger fares in the world? Oh, that little taxi company called Uber. How many taxis do they own? You guessed it.

    powerofzero.jpg

    I started to delve deeper into this de-centralization concept. Naturally, I stumbled across cryptocurrency, and suddenly, the dots connected. I’m no stranger to Cryptocurrencies, I have been following Bitcoin since 2010, and mined back when you could still do so on GPUs (those days are long gone and, sadly, I have no idea where that giant, old, 250gb externally powered hard drive is). I’m not going to act like I had a ton of coins like this poor fellow. I had a few, but that’s beside the point.

    Fast forward to 2017. Bitcoin is up to $12,700 USD at the time of this article, from a mere $758 exactly one year ago. I’ve been talking about Bitcoin for years, but it wasn’t until the currency surpassed $10,000 last month that people started reaching out to me.

    In what felt like overnight, I received messages in every medium. People that I haven’t spoken with in years, new friends and old the same. All wanted to know my insight on crypto:

    questions.png

    Yeah, even my mom at 5am

    I started to realize I knew more about crypto than I once thought. I read countless websites, and talked to a variety of people and thought: “what? I know more than this….” Ultimately, I decided to put my money where my mouth was.

    My initial goal was to get my hands on a few Antminer S9’s to mine Bitcoin. Unfortunately, they’re constantly out of stock due to an insane demand to the manufacturer, Bitmain, and as a result, the prices have been as high as $4,000+ for a single unit on sites like eBay and craigslist.

    antminers9.png

    Well, I knew I wasn’t going to pay a 37.5% markup on the retail price of $1,500… not to mention the additional power supply cost, so I returned to my roots. I mined crypto with a GPU before right? There had to be crypto out there that’s not on the SHA-256, still capable of being mined by GPU. Fortunately, there is. I chose to mine Ethereum due to its popularity, price, and smart contract focus. But remember, Peter, with high prices come high network hashrates.

    I’m lucky enough to live in Orange County, CA. Just a hop, skip, and jump away from a Micro Center. If you don’t know what Micro Center is, it’s great. Imagine Best Buy, Circuit City, and your favorite nerd passion had a baby. That baby is Micro Center.

    microcenter.jpg

    Purchase

    initialpurchasemicrocenter.jpg

    $1,034 later. I had a lot of computer hardware

    My Miner Specifications

    Component Name
    Motherboard: MSI Z170a Titanium Edition
    Processor: Intel I3-7100 3m Cache, 3.90GHz
    Storage: Crucial 275GB MX300 2.5 SATA SSD
    RAM: GeIL EVO POTENZA 8GB (2 x 4GB) 288-Pin DDR4
    GPU: ASUS Radeon RX 550 (x1)
    GPU: ASUS Radeon RX 550 (x2)
    GPU: ASUS Radeon RX 550 (x3)
    PSU: Thermaltake Toughpower Grand 1200W

    I skimped a bit on eveything. Mining doesn’t require a lot of processing power (at least from the CPU), or RAM for that matter… the bulk of the processing power stems from the GPU. I elected for a simple i3 and 8gb of DDR4 RAM (DDR4 Required by Motherboard). The places I splurged a bit include the motherboard, PSU, and 3x GPUs. When I say a bit, I really mean a bit… this could have been much worse.

    Initial Problems

    I took everything home, promptly threw away every manual and box (WARNING: I DO NOT RECOMMEND THIS) and started connecting things. Although I knew everything was connected properly, I couldn’t get the BIOS to show up on output.picofinitialsetup.jpg

    This wasn’t good. After consulting the motherboard error codes, manual, and every computer forum known to man (shoutout to Tom’s Hardware), I realized my mistake.

    I purchased a 7th Gen processor and a 6th generation motherboard. This was a serious problem because to flash the BIOS you need a 6th generation processor. I didn’t have one. It’s even more unfortunate because 7th generation boards come with a simple FLASHBACK+ mode where you can simply input a USB without display and flash the BIOS….again, I didn’t have that.

    Micro Center to the Rescue!

    Knowing the problem, I took my board back to Micro Center and explained the BIOS upgrade issue. The guy at service repair was super cool and knew exactly what I was talking about. Micro Center flashed the board in less than an hour for $30, which I was happy to pay because it was my mistake and I didn’t want to purchase another processor.

    Success!

    After flashing the BIOS, everything worked famously. I reconnected everything including the 3 GPUs. I created a bootable Linux USB using Win32 Disk Imager in the flavor of Ubuntu 16.04.3.

    From here, it was all gravy. I reconnected the motherboard to the Processor, RAM, PSU, SSD, and inserted the Bootable USB.success.jpg

    The most important thing, I think, in this whole process was naming convention. At the request of my good buddy and fellow grad student Travis, I named my new rig “CRACKBABY”.

    Once I got my crack baby all named and setup, to the command line I went!

    amdgpupro.jpg

    The most important steps here were getting Ubuntu to recognize the GPUs, and installing the mining equipment. Here are the steps:

    1. The first thing you need to do is install the dependency.
    2. $ sudo apt install software-properties-common

    3. Then, you can enable the repository and update apt.
    4. $ sudo add-apt-repository -y ppa:ethereum/ethereum
      $ sudo apt update

    5. Now, install the packages
    6. $ sudo apt install ethereum ethminer

    7. Next, you’re going to need a wallet to store the currency. I chose Mist.
      You need to install the dependencies if you’re going to use this option.
    8. $ sudo apt install libappindicator1 libindicator7

    9. With the dependencies installed, you can grab the latest release of Mist
      from the project’s Github page. You’re looking for the “Ethereum Wallet” package.
    10. Install the package with dpkg.
    11. $ sudo dpkg -i Ethereum-Wallet-linux64-0-9-0.deb

    12. Open up Mist and go through the setup. Save your private key
      and NEVER give it out.
    13. Your public key is how others send you money, and how you’ll get paid.

    14. Leave the application open to sync with the Ethereum network.
      It will take a long time and considerable hard drive space to synchronize everything.
    15. I recommend joining a pool to be profitable. Solo mining is hard.
      Joining a pool is easy, they have instructions on their page on how to connect.
      I chose Ethermine.
    16. Once the wallet syncs, and you’ve chosen a pool, it’s time to connect.
    17. $ ethminer -G -F your.poolurl.com:port/0xYOURWALLET.COMPUTER NAME --farm-recheck 200

    18. Replace your.poolurl.com:port with the pool you specified, those
      addresses will be specific to that pool and can be found on your chosen pool’s site.
      Replace 0xYOURWALLET with your public key, .COMPUTERNAME is up to
      you if you’d like to name your worker. –farm-recheck 200 is how often to check for jobs.

    That’s it!

    You can check the status of your worker using your pool’s website. On Ethermine they have an easy to access search function where you can plug your worker in.

    It was a really fun, albiet sometimes frustrating project. The hardest part of this whole process will be getting linux and ethminer to talk to your GPU. There are separate drivers and dependencies whether you buy a Nvidia or Radeon card, and it’s a PROCESS to set them up. I ended up ultimately returning the three RX550s for a pair of GTX 1070s. The hashrate of all three RX550s was less than a single 1070.

    doublegtx1070.jpg

    Using the settings I specified in this article I’m hashing at about 29 MH/s per 1070…

    crackbaby

    If this guide was helpful for you, you can tip me at ethereum: 0x92b2b7fb42c26b9469554db93be293ba263cfc88 or simply run the ethminer using my wallet address for a day or two (copy/paste):

    ethminer -G -F http://us2.ethermine.org:4444/0x92b2b7fb42c26b9469554db93be293ba263cfc88 --farm-recheck 200

    Update

    Eventually I expanded my operation to multiple rigs running 6x GTX 1070s each. I ran these miners successfully for about six months, then decided it was no longer cost effective after moving to a new state and paying a different rate for electricity.

    More questions? Feel free to contact me.

    Return to Table of Contents