Table of Contents
Background
Purchase
Initial Problems
Success!
Setting up your miner
Conclusion
Update
Skip Background and get to installation
Background
Working through my master’s degree in technology, I began to notice a common theme. We pored over endless lit reviews which included futurists such as Ray Kurzweil and other like-minded fellows who spoke of an incredible concept just on the horizon of the Second Machine Age. This concept? De-Centralization.
It didn’t really hit home until we began to see some data. Do you know which organization controls the most available hotel rooms at any given time in the world? It isn’t Marriot, it’s AirBnB. Any idea how many hotels AirBnB owns? I’ll give you a hint: you can’t divide by it mathematically. Let’s look at transportation: who do you think is providing the most passenger fares in the world? Oh, that little taxi company called Uber. How many taxis do they own? You guessed it.

I started to delve deeper into this de-centralization concept. Naturally, I stumbled across cryptocurrency, and suddenly, the dots connected. I’m no stranger to Cryptocurrencies, I have been following Bitcoin since 2010, and mined back when you could still do so on GPUs (those days are long gone and, sadly, I have no idea where that giant, old, 250gb externally powered hard drive is). I’m not going to act like I had a ton of coins like this poor fellow. I had a few, but that’s beside the point.
Fast forward to 2017. Bitcoin is up to $12,700 USD at the time of this article, from a mere $758 exactly one year ago. I’ve been talking about Bitcoin for years, but it wasn’t until the currency surpassed $10,000 last month that people started reaching out to me.
In what felt like overnight, I received messages in every medium. People that I haven’t spoken with in years, new friends and old the same. All wanted to know my insight on crypto:

Yeah, even my mom at 5am
I started to realize I knew more about crypto than I once thought. I read countless websites, and talked to a variety of people and thought: “what? I know more than this….” Ultimately, I decided to put my money where my mouth was.
My initial goal was to get my hands on a few Antminer S9’s to mine Bitcoin. Unfortunately, they’re constantly out of stock due to an insane demand to the manufacturer, Bitmain, and as a result, the prices have been as high as $4,000+ for a single unit on sites like eBay and craigslist.

Well, I knew I wasn’t going to pay a 37.5% markup on the retail price of $1,500… not to mention the additional power supply cost, so I returned to my roots. I mined crypto with a GPU before right? There had to be crypto out there that’s not on the SHA-256, still capable of being mined by GPU. Fortunately, there is. I chose to mine Ethereum due to its popularity, price, and smart contract focus. But remember, Peter, with high prices come high network hashrates.
I’m lucky enough to live in Orange County, CA. Just a hop, skip, and jump away from a Micro Center. If you don’t know what Micro Center is, it’s great. Imagine Best Buy, Circuit City, and your favorite nerd passion had a baby. That baby is Micro Center.

Purchase

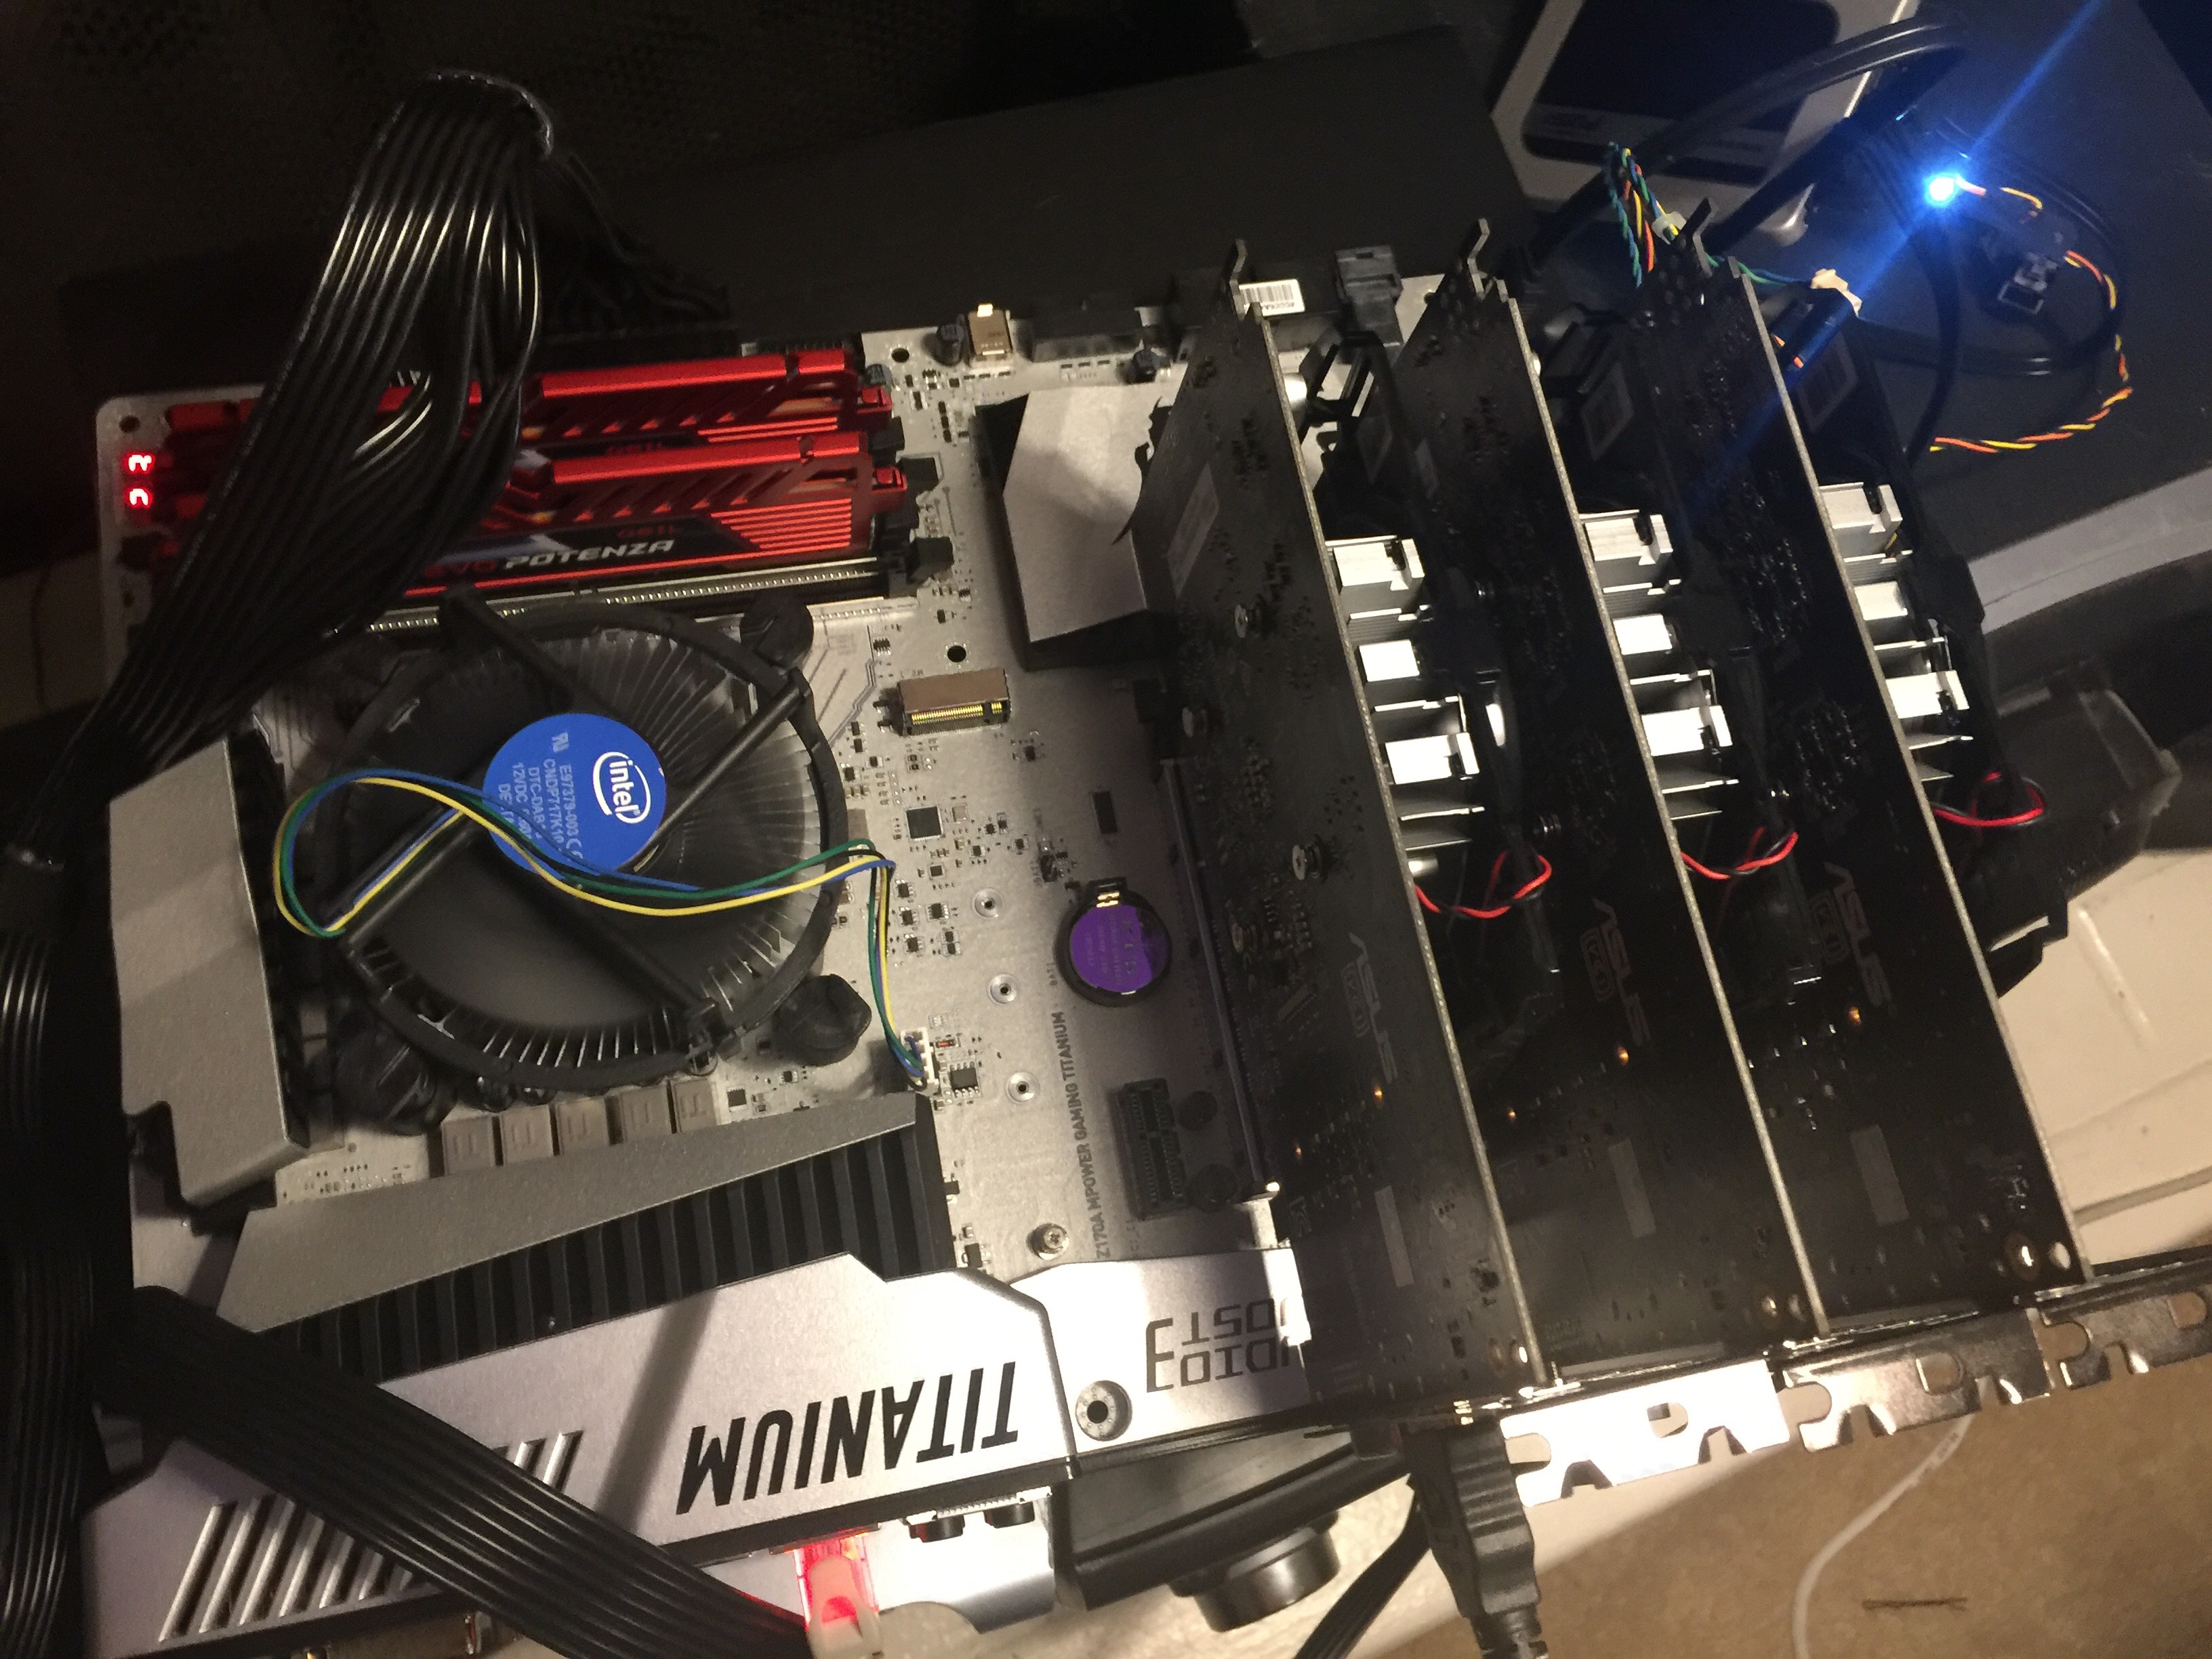
$1,034 later. I had a lot of computer hardware
My Miner Specifications
| Component | Name |
|---|---|
| Motherboard: | MSI Z170a Titanium Edition |
| Processor: | Intel I3-7100 3m Cache, 3.90GHz |
| Storage: | Crucial 275GB MX300 2.5 SATA SSD |
| RAM: | GeIL EVO POTENZA 8GB (2 x 4GB) 288-Pin DDR4 |
| GPU: | ASUS Radeon RX 550 (x1) |
| GPU: | ASUS Radeon RX 550 (x2) |
| GPU: | ASUS Radeon RX 550 (x3) |
| PSU: | Thermaltake Toughpower Grand 1200W |
I skimped a bit on eveything. Mining doesn’t require a lot of processing power (at least from the CPU), or RAM for that matter… the bulk of the processing power stems from the GPU. I elected for a simple i3 and 8gb of DDR4 RAM (DDR4 Required by Motherboard). The places I splurged a bit include the motherboard, PSU, and 3x GPUs. When I say a bit, I really mean a bit… this could have been much worse.
Initial Problems
I took everything home, promptly threw away every manual and box (WARNING: I DO NOT RECOMMEND THIS) and started connecting things. Although I knew everything was connected properly, I couldn’t get the BIOS to show up on output.
This wasn’t good. After consulting the motherboard error codes, manual, and every computer forum known to man (shoutout to Tom’s Hardware), I realized my mistake.
I purchased a 7th Gen processor and a 6th generation motherboard. This was a serious problem because to flash the BIOS you need a 6th generation processor. I didn’t have one. It’s even more unfortunate because 7th generation boards come with a simple FLASHBACK+ mode where you can simply input a USB without display and flash the BIOS….again, I didn’t have that.
Micro Center to the Rescue!
Knowing the problem, I took my board back to Micro Center and explained the BIOS upgrade issue. The guy at service repair was super cool and knew exactly what I was talking about. Micro Center flashed the board in less than an hour for $30, which I was happy to pay because it was my mistake and I didn’t want to purchase another processor.
Success!
After flashing the BIOS, everything worked famously. I reconnected everything including the 3 GPUs. I created a bootable Linux USB using Win32 Disk Imager in the flavor of Ubuntu 16.04.3.
From here, it was all gravy. I reconnected the motherboard to the Processor, RAM, PSU, SSD, and inserted the Bootable USB.
The most important thing, I think, in this whole process was naming convention. At the request of my good buddy and fellow grad student Travis, I named my new rig “CRACKBABY”.
Once I got my crack baby all named and setup, to the command line I went!

The most important steps here were getting Ubuntu to recognize the GPUs, and installing the mining equipment. Here are the steps:
- The first thing you need to do is install the dependency.
- Then, you can enable the repository and update apt.
- Now, install the packages
- Next, you’re going to need a wallet to store the currency. I chose Mist.
You need to install the dependencies if you’re going to use this option. - With the dependencies installed, you can grab the latest release of Mist
from the project’s Github page. You’re looking for the “Ethereum Wallet” package. - Install the package with dpkg.
- Open up Mist and go through the setup. Save your private key
and NEVER give it out. - Leave the application open to sync with the Ethereum network.
It will take a long time and considerable hard drive space to synchronize everything. - I recommend joining a pool to be profitable. Solo mining is hard.
Joining a pool is easy, they have instructions on their page on how to connect.
I chose Ethermine. - Once the wallet syncs, and you’ve chosen a pool, it’s time to connect.
- Replace your.poolurl.com:port with the pool you specified, those
addresses will be specific to that pool and can be found on your chosen pool’s site.
Replace 0xYOURWALLET with your public key, .COMPUTERNAME is up to
you if you’d like to name your worker. –farm-recheck 200 is how often to check for jobs.
$ sudo apt install software-properties-common
$ sudo add-apt-repository -y ppa:ethereum/ethereum
$ sudo apt update
$ sudo apt install ethereum ethminer
$ sudo apt install libappindicator1 libindicator7
$ sudo dpkg -i Ethereum-Wallet-linux64-0-9-0.deb
Your public key is how others send you money, and how you’ll get paid.
$ ethminer -G -F your.poolurl.com:port/0xYOURWALLET.COMPUTER NAME --farm-recheck 200
That’s it!
You can check the status of your worker using your pool’s website. On Ethermine they have an easy to access search function where you can plug your worker in.
It was a really fun, albiet sometimes frustrating project. The hardest part of this whole process will be getting linux and ethminer to talk to your GPU. There are separate drivers and dependencies whether you buy a Nvidia or Radeon card, and it’s a PROCESS to set them up. I ended up ultimately returning the three RX550s for a pair of GTX 1070s. The hashrate of all three RX550s was less than a single 1070.

Using the settings I specified in this article I’m hashing at about 29 MH/s per 1070…

If this guide was helpful for you, you can tip me at ethereum: 0x92b2b7fb42c26b9469554db93be293ba263cfc88 or simply run the ethminer using my wallet address for a day or two (copy/paste):
ethminer -G -F http://us2.ethermine.org:4444/0x92b2b7fb42c26b9469554db93be293ba263cfc88 --farm-recheck 200Update
Eventually I expanded my operation to multiple rigs running 6x GTX 1070s each. I ran these miners successfully for about six months, then decided it was no longer cost effective after moving to a new state and paying a different rate for electricity.
More questions? Feel free to contact me.
Leave a Reply